The Basics
These are just some of the things you will need in order to remove the HV battery from a Model S/X. There are dozens of other basic tools you will need to complete all the work ahead that are beyond the scope of a list. These are just the ‘big’ things you will need to have/buy/borrow to get started.
ScanMyTesla – Read Your Tesla’s HV Battery Data
ScanMyTesla is a go-to app for Tesla owners and DIYers who want to access real-time data from their vehicle’s CAN bus, particularly related to the high-voltage (HV) battery. If your car displays a ‘battery error,’ it’s a good idea to check the battery’s internal data before removing it. This can help you understand what’s happening and avoid unnecessary work.
What You’ll Need:
- The ScanMyTesla App
- A one-time purchase available for both iOS and Android.
- Created by a fellow Tesla enthusiast and hobbyist.
- An OBDII Diagnostic Cable
- The type of cable needed varies by Tesla model, year, and variant.
- It connects under the MCU and allows you to access the CAN bus data.
- Search for ‘Scan My Tesla Cable’ on Amazon or similar sites to find one that matches your car.
- An OBDII Bluetooth Adapter
- This enables wireless communication between the app and your car.
- Compatibility varies, so check reviews to ensure it works well with your phone (iOS or Android).
By using ScanMyTesla, you can get a deeper insight into your Tesla’s battery performance and condition before making any major repairs or replacements.

Tesla Jack Pads – A Must-Have for Every Tesla Owner
If you own a Tesla, jack pads are essential. These small rubber adapters help protect your battery and chassis when lifting the car for maintenance, vehicle checks and tire changes.
Why You Need Them:
- Many tire shops won’t lift a Tesla without them.
- Improper lifting without jack pads can damage the battery.
- They’re inexpensive and work the same across different brands.
Where to Get Them:
- Search for “Tesla Jack Pads” online or on Amazon.
- A good set of four in a carrying case should cost under $15.
Pro Tip:
Always keep them in your trunk—you never know when you’ll need them!

Ramps and Jack Stands – Lifting Your Tesla Safely
Raising your Tesla properly is crucial, especially if you’re working on the battery or other components underneath. Safety should always be the top priority.
How to Lift the Car:
-
Use Ramps & Jack Stands
- Place two ramps under the front tires (backwards).
- Position two heavy-duty jack stands under the rear subframe.
-
Alternative Setup
- You can use jack stands on the front subframe instead of ramps.
- However, this requires extra steps, including removing the front undertray.
Key Safety Tips:
- Ensure the car is completely stable and level before working underneath.
- Always double-check that your lifting points are secure.
For a more detailed guide, check resources on pack removal and proper lifting techniques.
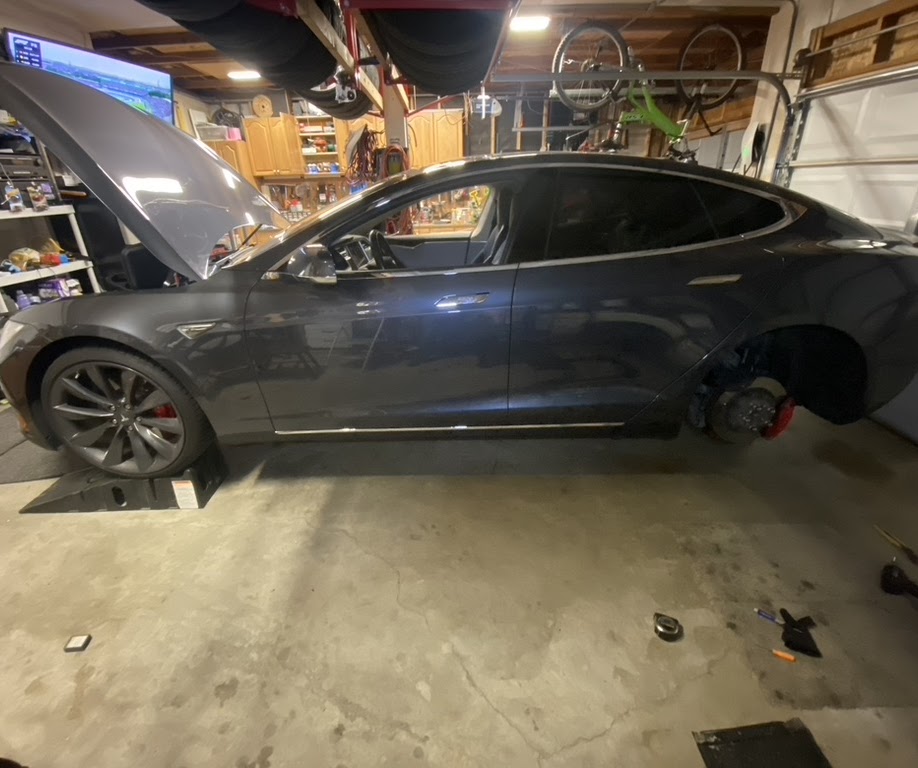
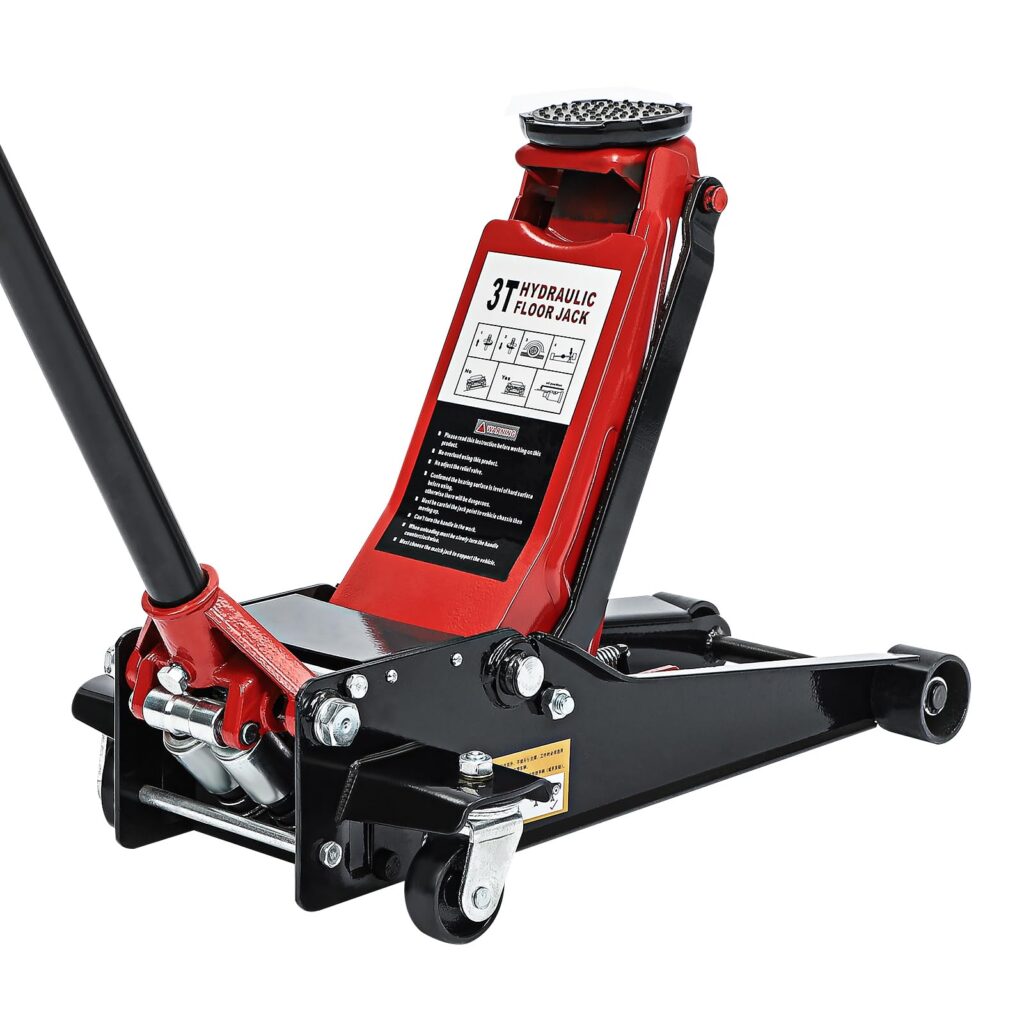
Floor Jacks – You’ll Need Four!
While a two-post lift would make things easier, most garages don’t have the space for one. Thankfully, a good set of floor jacks can get the job done.
How Many & What Type?
- Ideally, you need four floor jacks.
- The smaller 1.5-ton jacks might not lift high enough, so it’s best to go with 3-ton versions.
- If you don’t own four, borrow from friends to make the process easier.
What You’ll Use Them For:
- Raising the car to place ramps and jack stands.
- Lowering and raising the battery onto furniture dollies.
While you might be able to lift the car with just one or two jacks, you must have four for safely handling the battery removal and installation.
Furniture Dollies – Get Four!
When removing your Tesla’s battery, having four small furniture dollies makes the process much smoother.
Why Four Small Dollies?
- Each small dolly typically has a 1,000-pound capacity.
- Placing one under each corner of the battery allows for better control and maneuverability.
- Using four small dollies is more stable and easier to handle than using two larger ones.
Where to Get Them
- Stores like Harbor Freight or similar hardware retailers sell them at an affordable price.
For a hassle-free battery removal, investing in four small dollies will make a big difference!

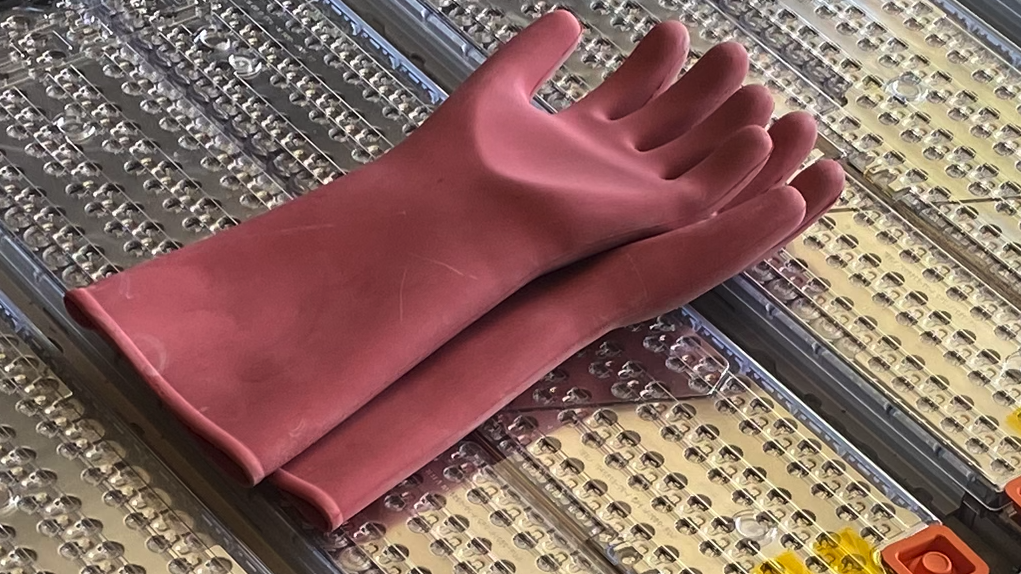
Personal Protective Equipment (PPE) – Safety First!
When working on your Tesla’s battery pack, high voltage can be deadly. Always wear the proper PPE and follow all recommended safety protocols.
Key Safety Tips:
- Before opening the pack, review the Hybrid and Electric Vehicle PPE and Tools guide by Professor Kelly at Weber Auto on YouTube.
- Use the correct PPE, including insulated gloves rated for high voltage.
- Follow all safety guidelines before handling any components.
Handling Precautions:
- Individual 24V modules can be safely handled with basic shop gloves.
- However, 16 modules in series create dangerously high voltage, requiring extreme caution.
⚠ Never take shortcuts when dealing with high-voltage systems! Proper PPE can save your life.
DIY Pressure Tester – Essential for Pack Testing
To properly pressure test your Tesla’s battery pack, you’ll need a custom-built pressure tester. Most of the required parts are available at hardware stores like Home Depot, mainly in the plumbing and air compressor sections. There is also a small array that fits onto the end of the ControlAir to convert this and allow you to test the Coolant System.
Parts & Setup:
- ControlAir Regulator – The most expensive component, but essential for precise pressure control.
- Ball Valves – Helps isolate the inlet, regulator, and outlet for better control.
- Pressure Gauge – Ideally positioned after the ball valve on the pack side for more accurate readings.
- Air Compressor Fittings – Converts this setup to test the coolant system as well.
- Second Small Regulator (optional) – Some regulators may bleed air while regulating, affecting accuracy.
Why This Works Well:
- Reduces shop air compressor pressure (100 PSI) down to a safe, controlled level.
- Allows for fine adjustments to prevent over-pressurizing sensitive components.
- Ball valves improve testing accuracy by controlling airflow.
⚠ Note: There’s no exact parts list, but reference images from Brian Kelley should guide you in assembling a similar setup. If improved, moving the pressure gauge after the ball valve can help achieve more accurate readings.
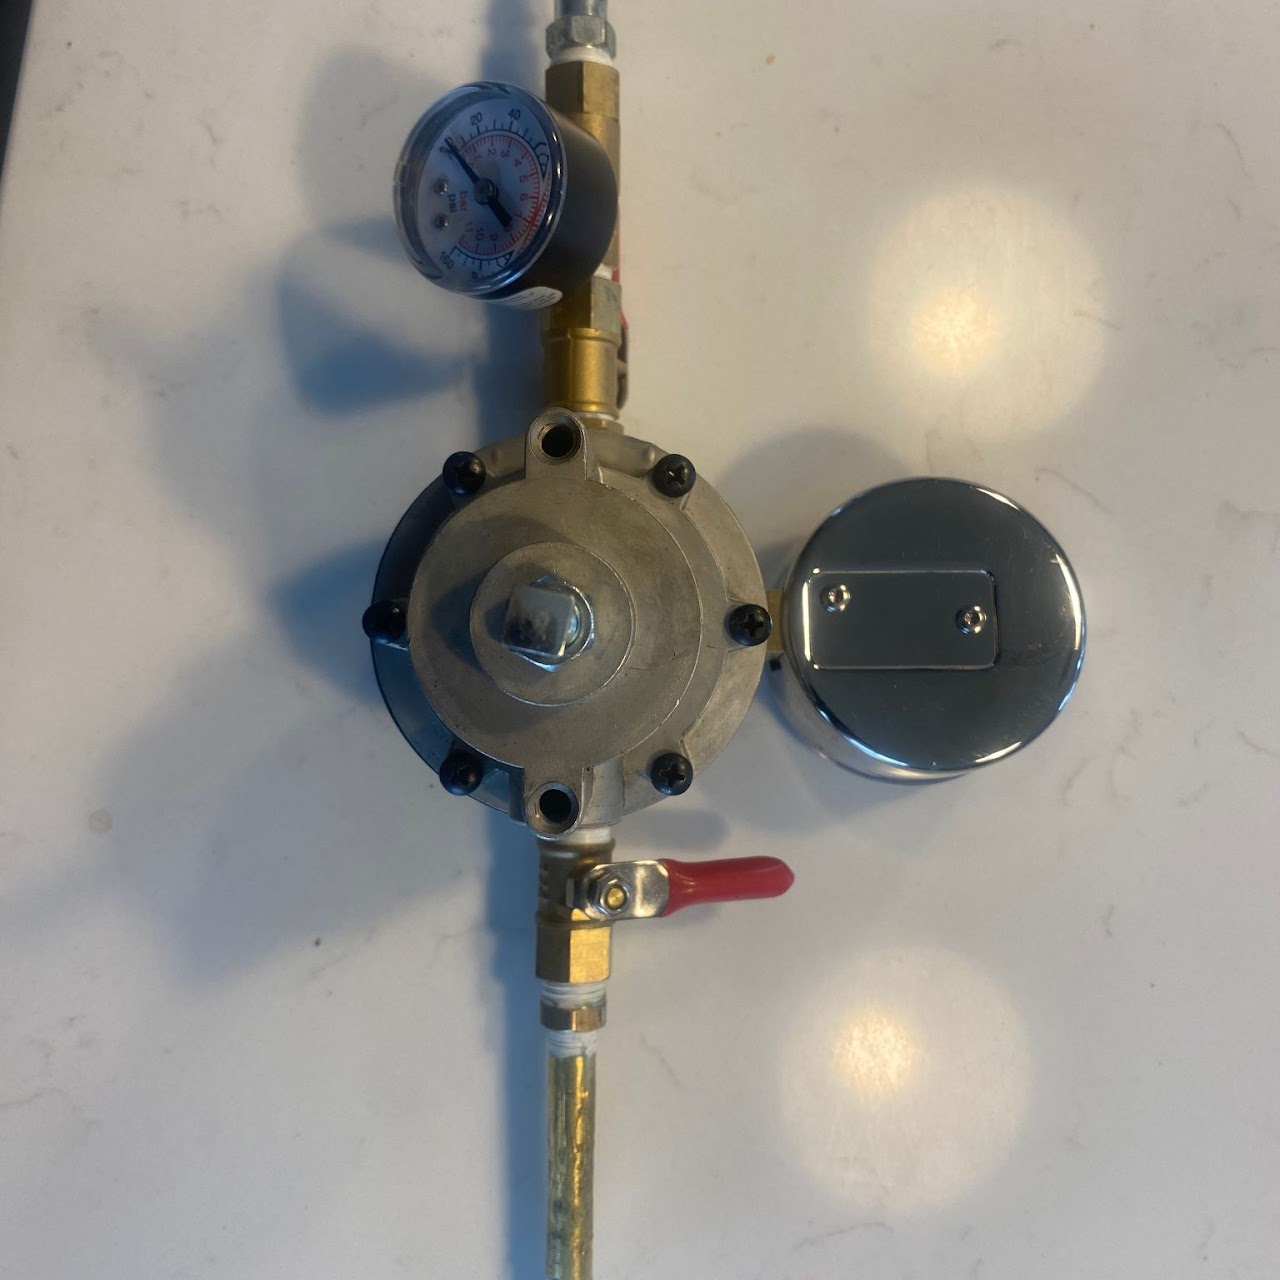
Great first attempt. Ideally you’d however want the pressure gauge after the ball valve on the pack side.
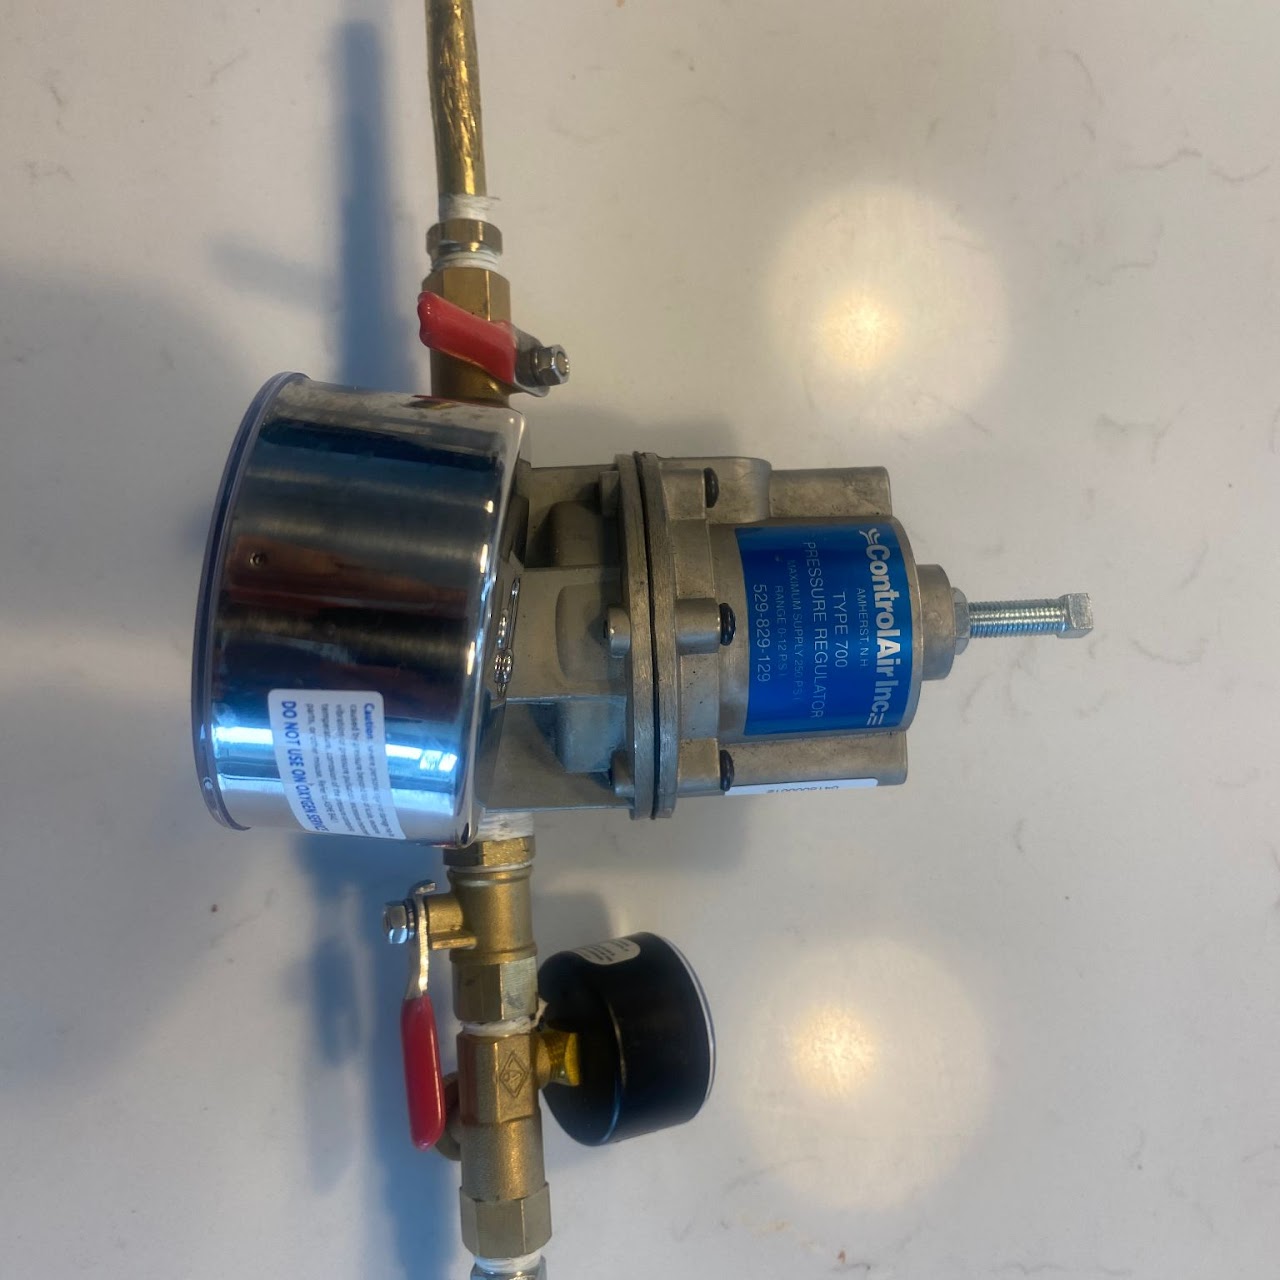
This regulator ‘bleeds’ as it regulates so it is hard to watch the pressure accurately in this configuration.
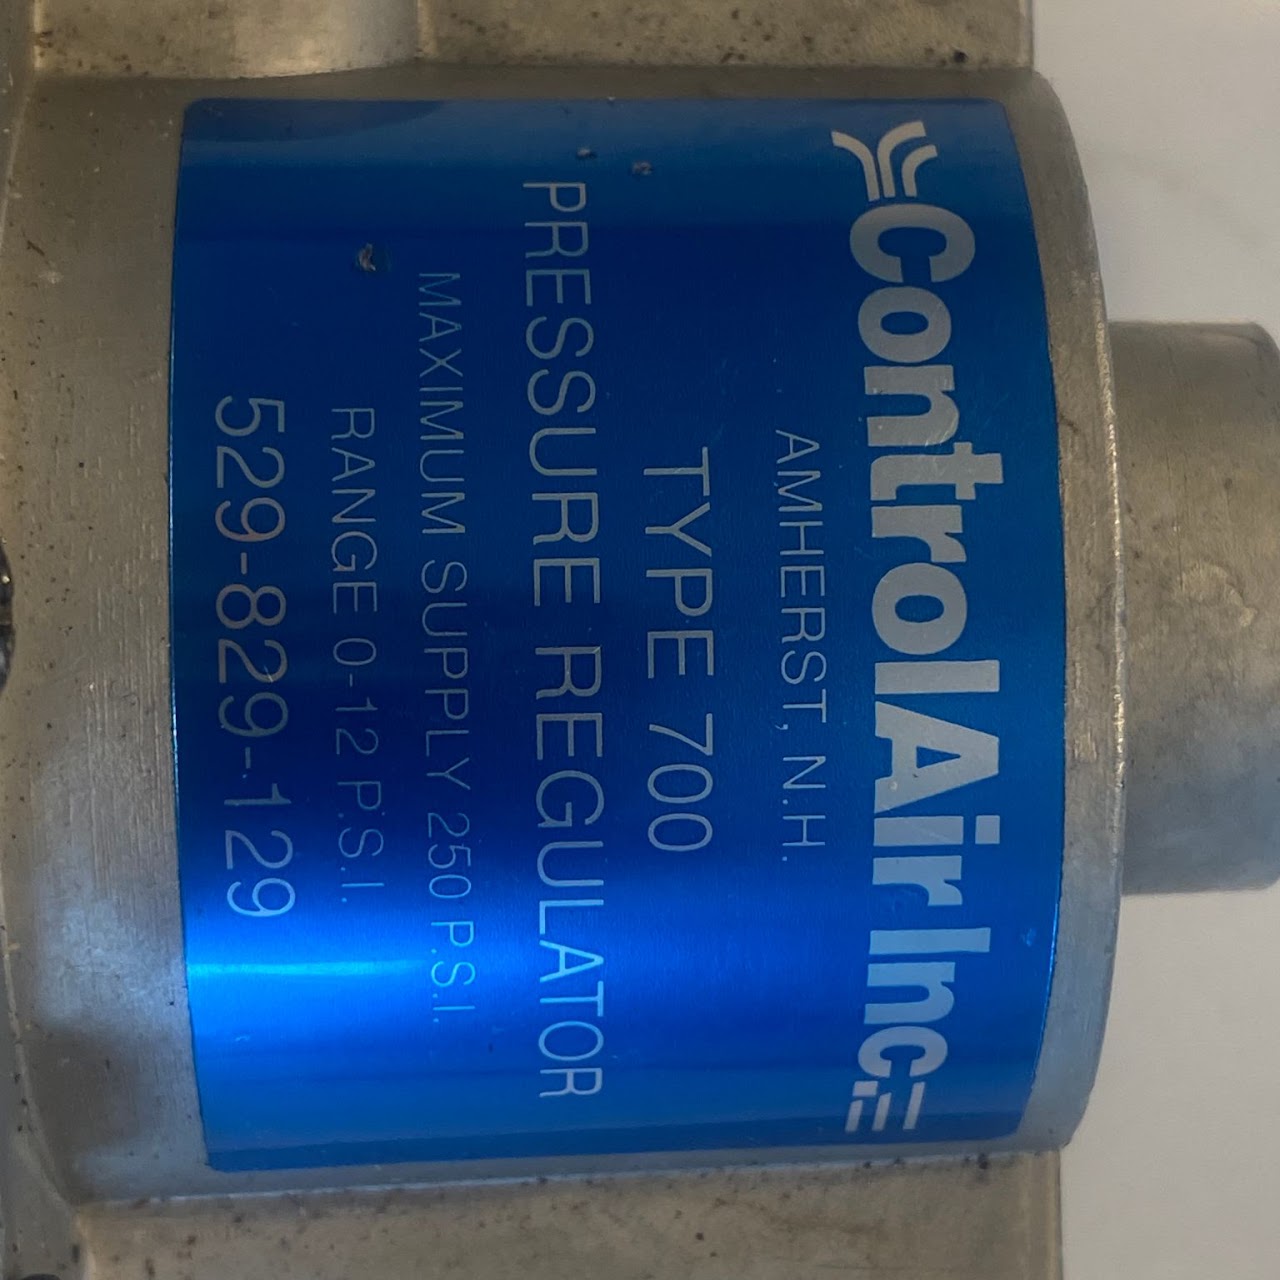
This does an excellent job of regulating the shop air compressor’s 100psi down to almost nothing.
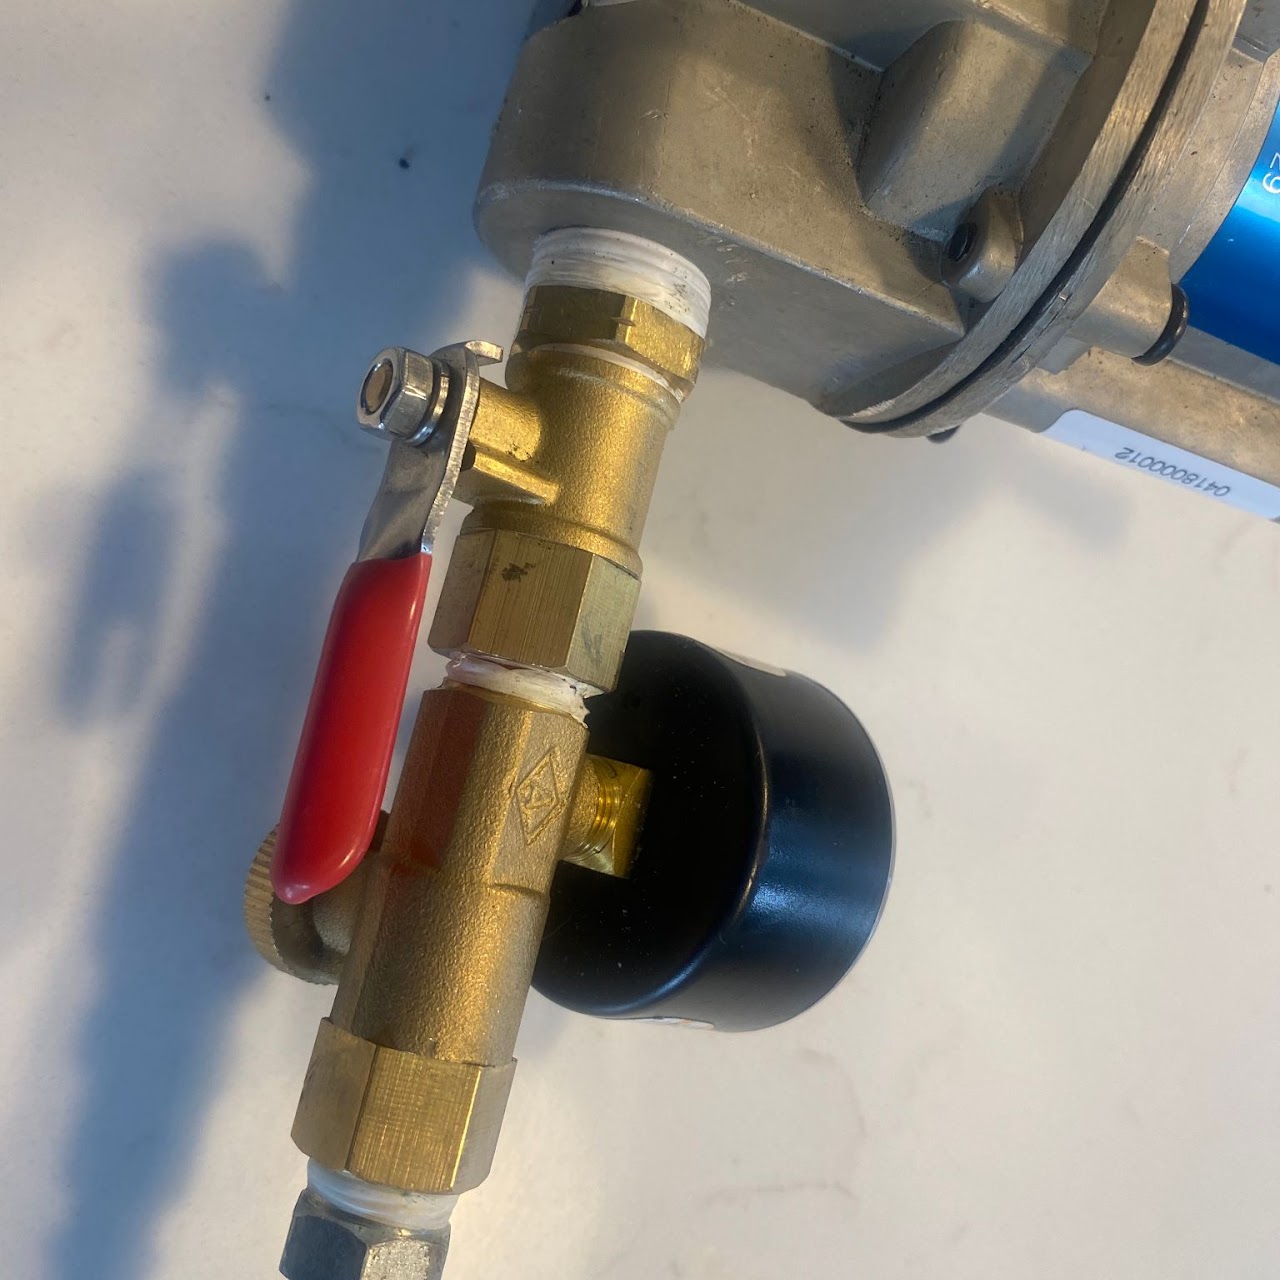
Having ball valves to isolate the inlet, regulator and outlet are helpful. Yes, that 2nd small regulator from Home Depot is junk…