Getting Ready to Be Done!
At this point, you have all the modules out and have inspected the sense wires and BMB boards and done the work. Maybe you are waiting for some BMBs to arrive or be repaired so now is a good time to clean all of the residue from the previous sealant so the new sealant will have clean and dry surfaces to bond to. Do this step when the modules are out so you can make a mess and easily vacuum it up.
During the removal process, parts of the metal covers were likely bent a little. Now is a good time to use a hammer and bodywork dolly to tap them flat. The closer you get the materials to be clean and ‘perfect’, the better the finished product will look and perform.
Penthouse Cover
The penthouse cover should be one of the easier things to clean up because it is relatively small and simple. You want to clean up the black bracket that is used to mend the main cover to the penthouse cover so it is ready to go also. Like the removal, you can install the fuse cover to the penthouse cover before the fuse goes in. This should allow you to see how the Right Stuff gasket maker penetrates inside the opening. This is an added layer of detail someone who is just removing and replacing the fuse cover can’t do.
Tesla’s process to reinstall the fuse cover seems to be 1) dispense a can of Right Stuff on the area. 2) drop fuse cover into the pile of Right Stuff. 3) Install some screws. 4) Add an additional pile of Right Stuff as thick as you can because more is certainly better…
You will have a much better seal getting a thin ‘smear’ of sealant around the edge that comes through evenly on the back side.
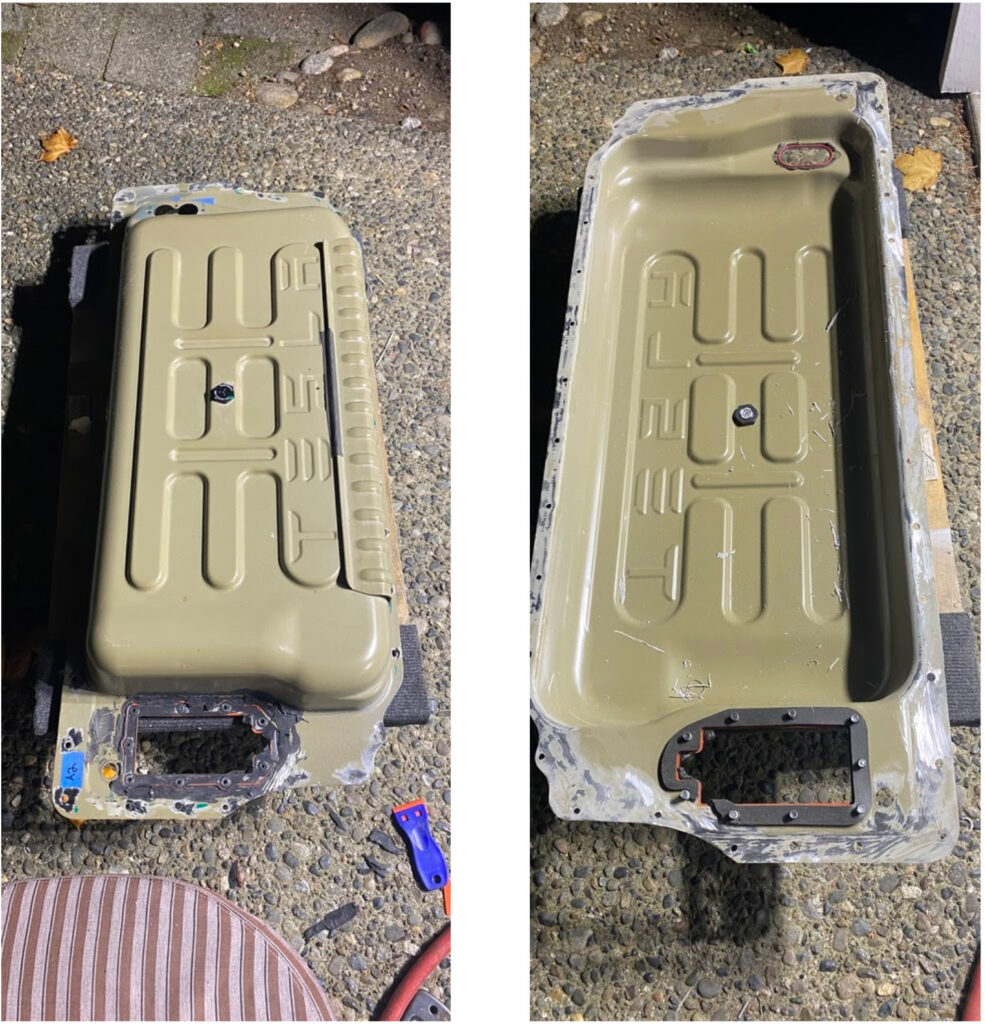
Coolant Rapidmate
The coolant rapidmate must be cleaned also. Right Stuff gasket maker will be applied to the perimeter of the black plastic itself and then the penthouse cover will be set onto it with additional Right Stuff smeared around from the outside to make a good seal. The screws go back in to firm everything up and finish the seal.
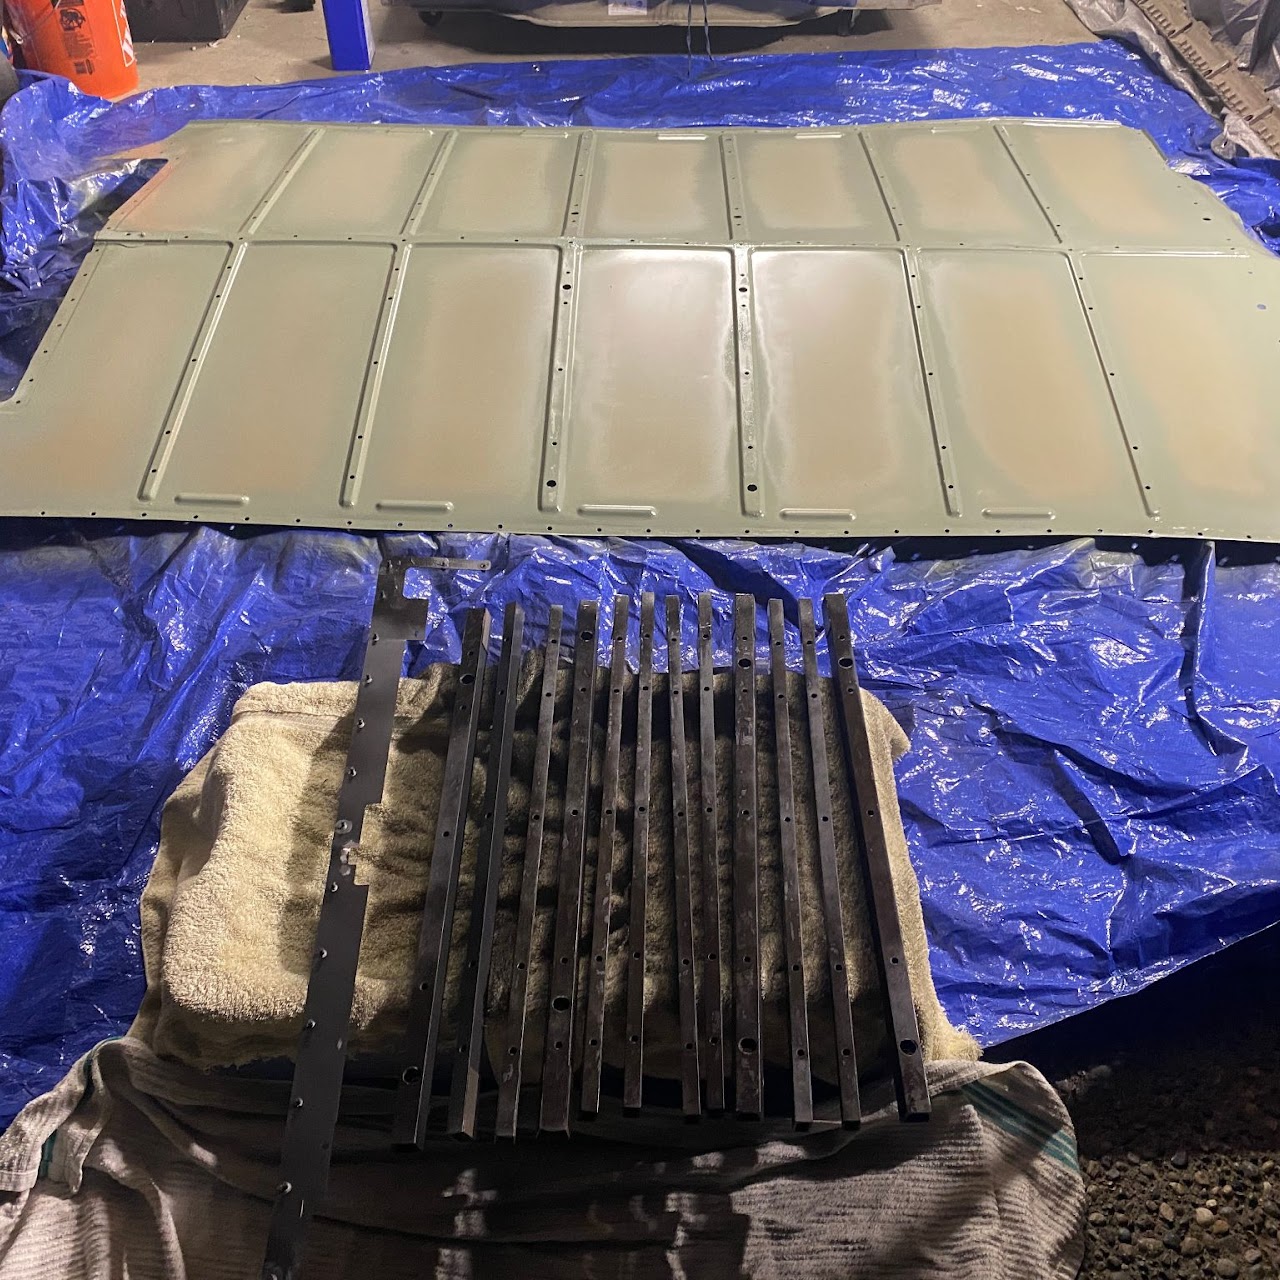
Removing the Ribs
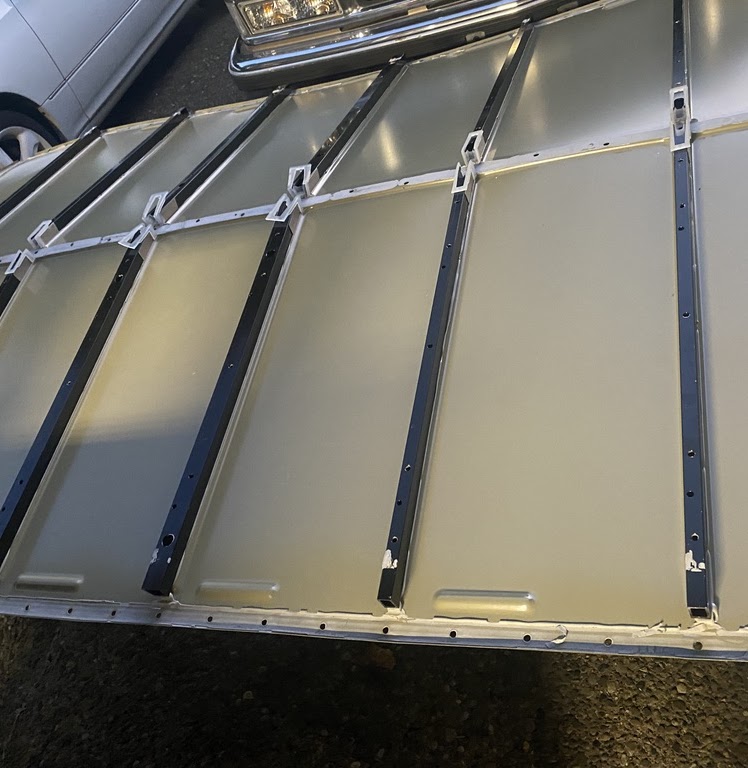
Part of the surface prep are the ribs glued to the main cover. You see the sealant down the center that needs to be cleaned off, not to mention the ribs themselves.
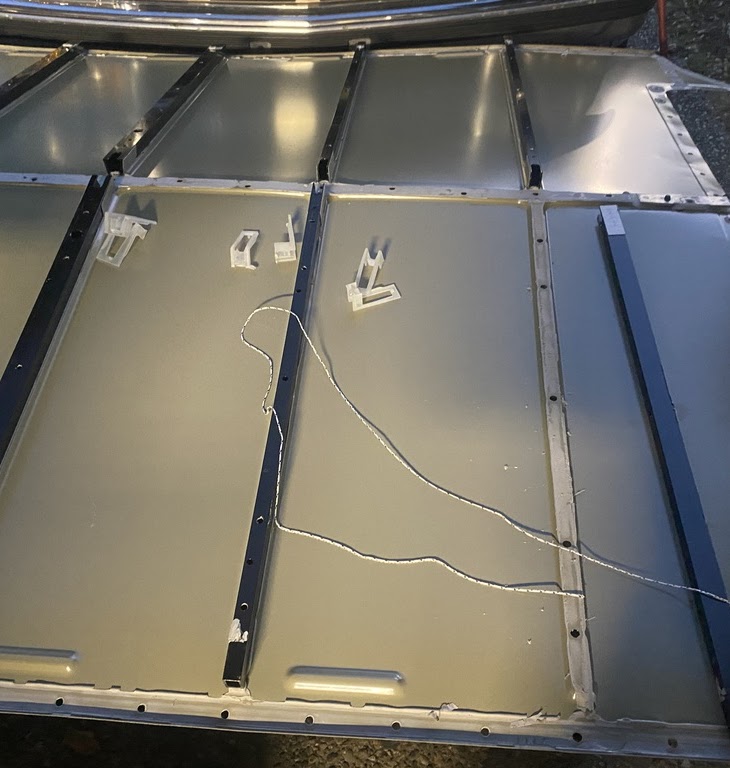
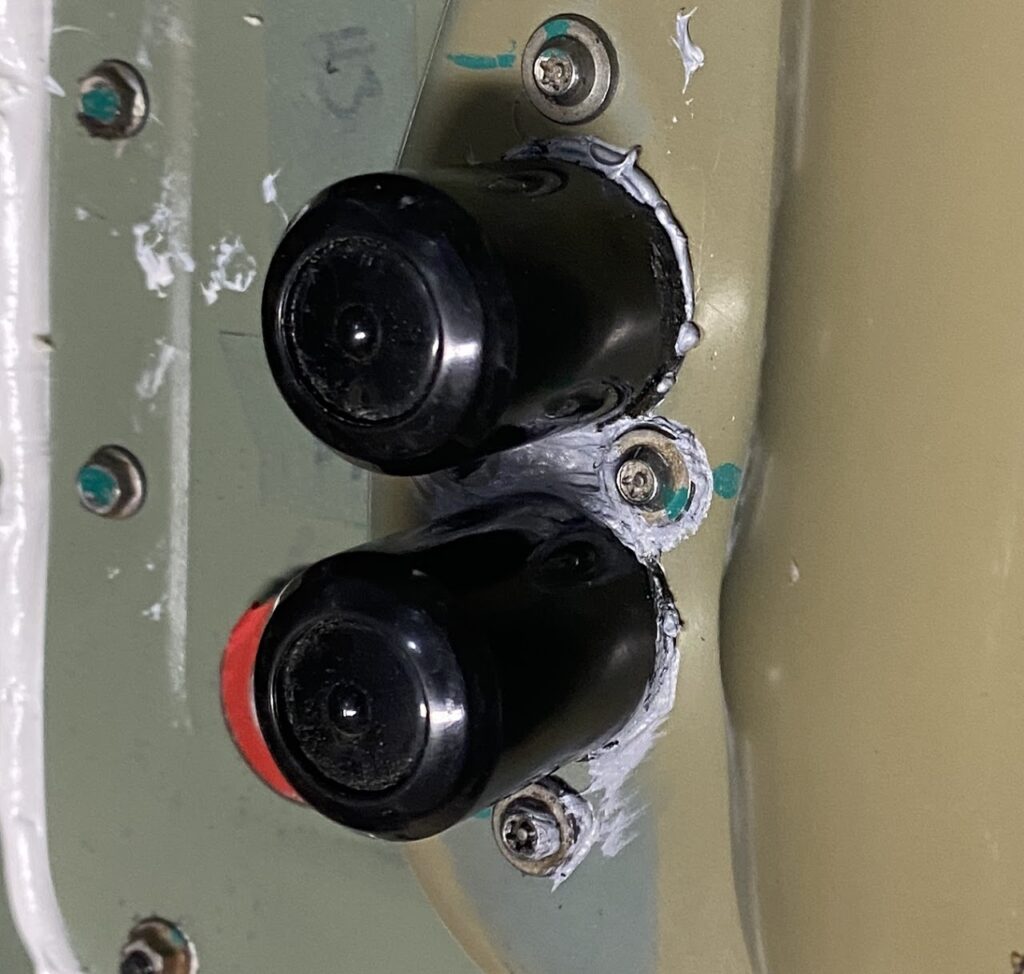
Pulling through the sealant with some heavy string. You see the little rubber insulator sitting in the middle enlarged in the 4th image to the right.
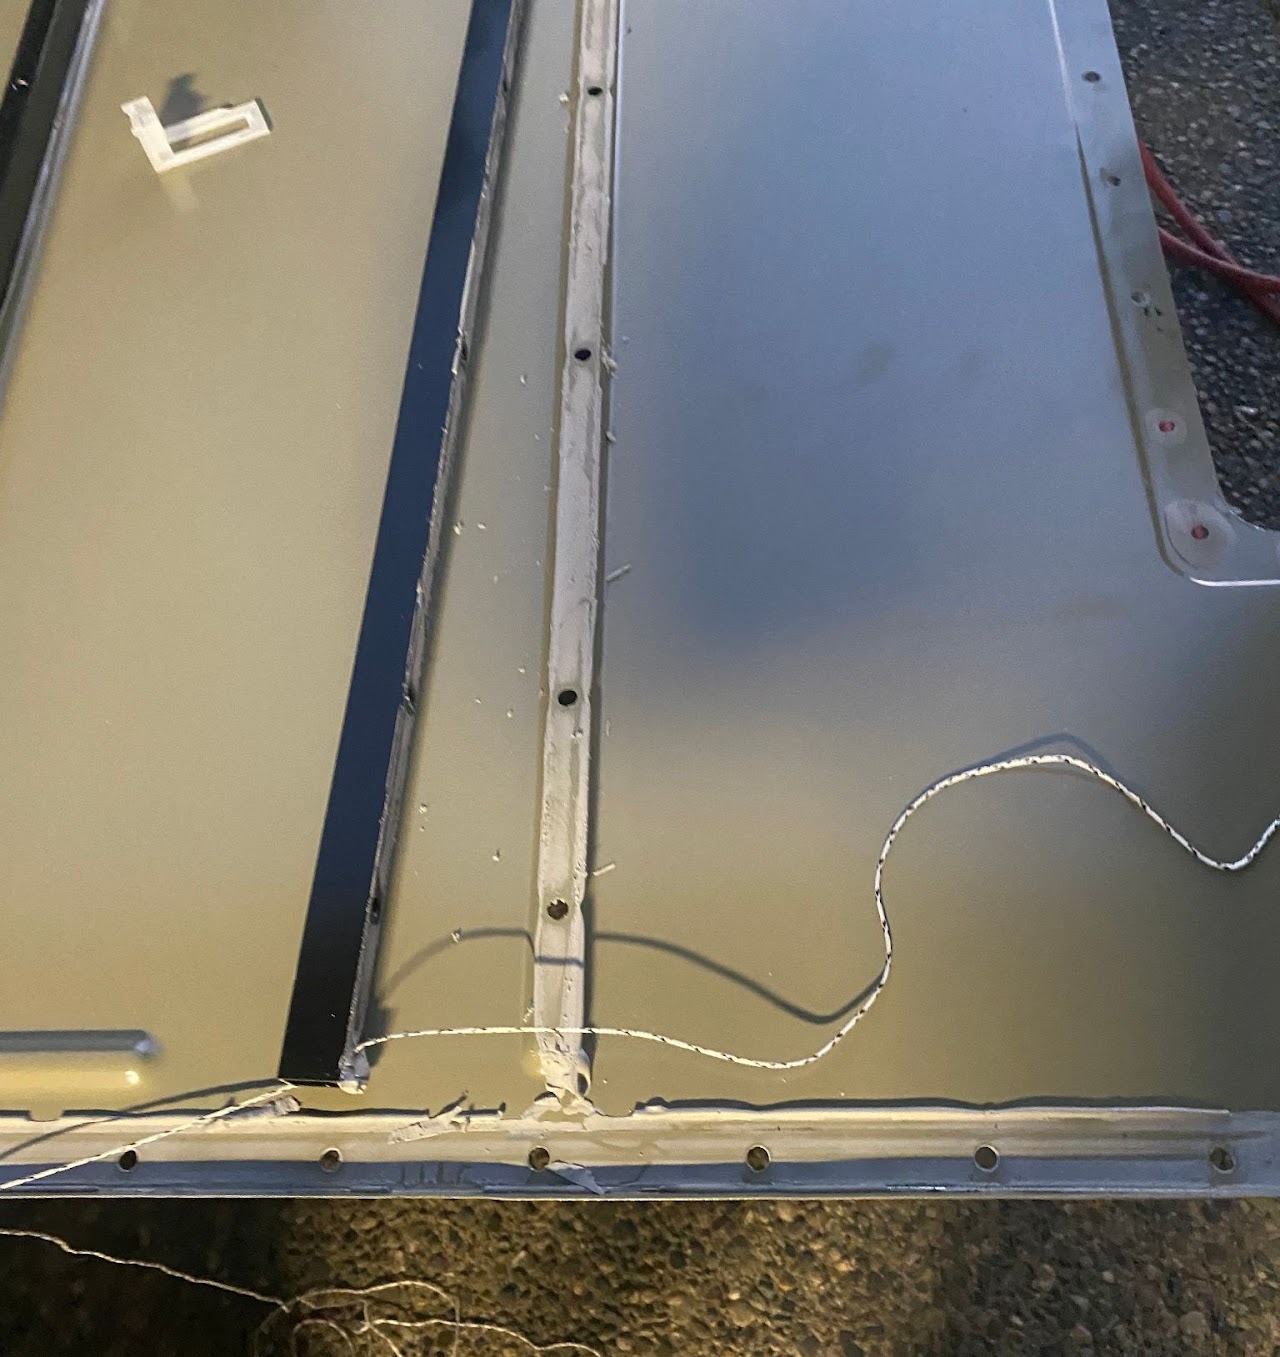
All of these ribs need to be removed and the surfaces cleaned. Their function is to hold the modules down and they are easy to fit back in place when they aren’t attached to the lid.
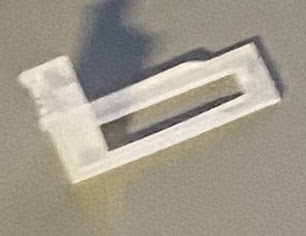
Watch for these – they are easy to place on the ends but you can see how they could pop out of place with the butterfly method.
Cleaning the Lid
I chose the slow and methodical route on my first pack. The owner of this pack was more aggressive! Just make sure you don’t leave bare metal. The mating surfaces of the pack shell itself need to be cleaned as well – again, no bare metal.

The aggressive method of cleaning the surfaces involves power tools. If you do that, you will damage the painted surface but it is faster.
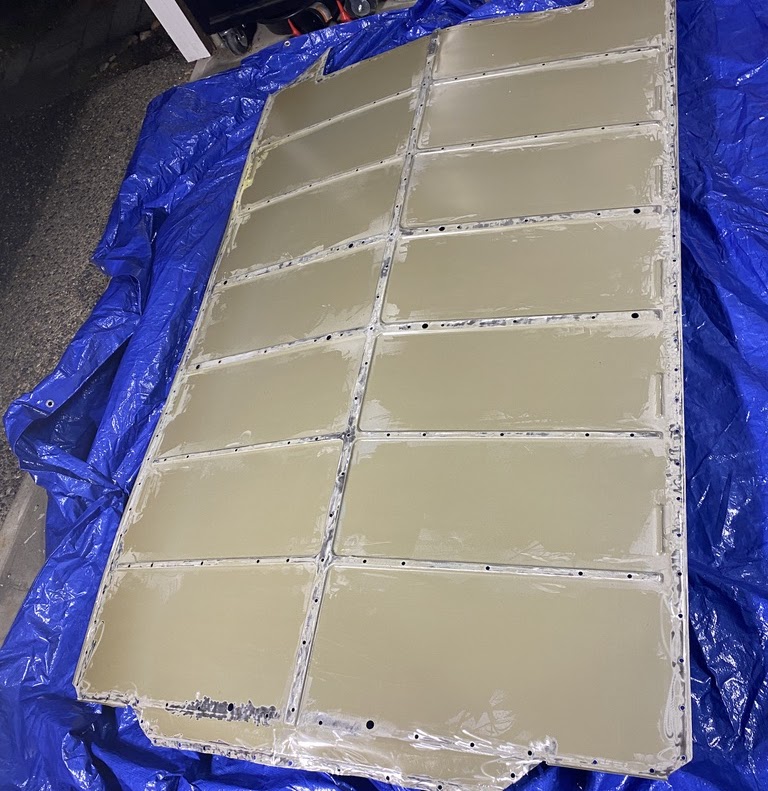
Some people will choose to use plastic scrapers and some mineral spirits to clean the adhesive off. The results in the photo above was the fast method.
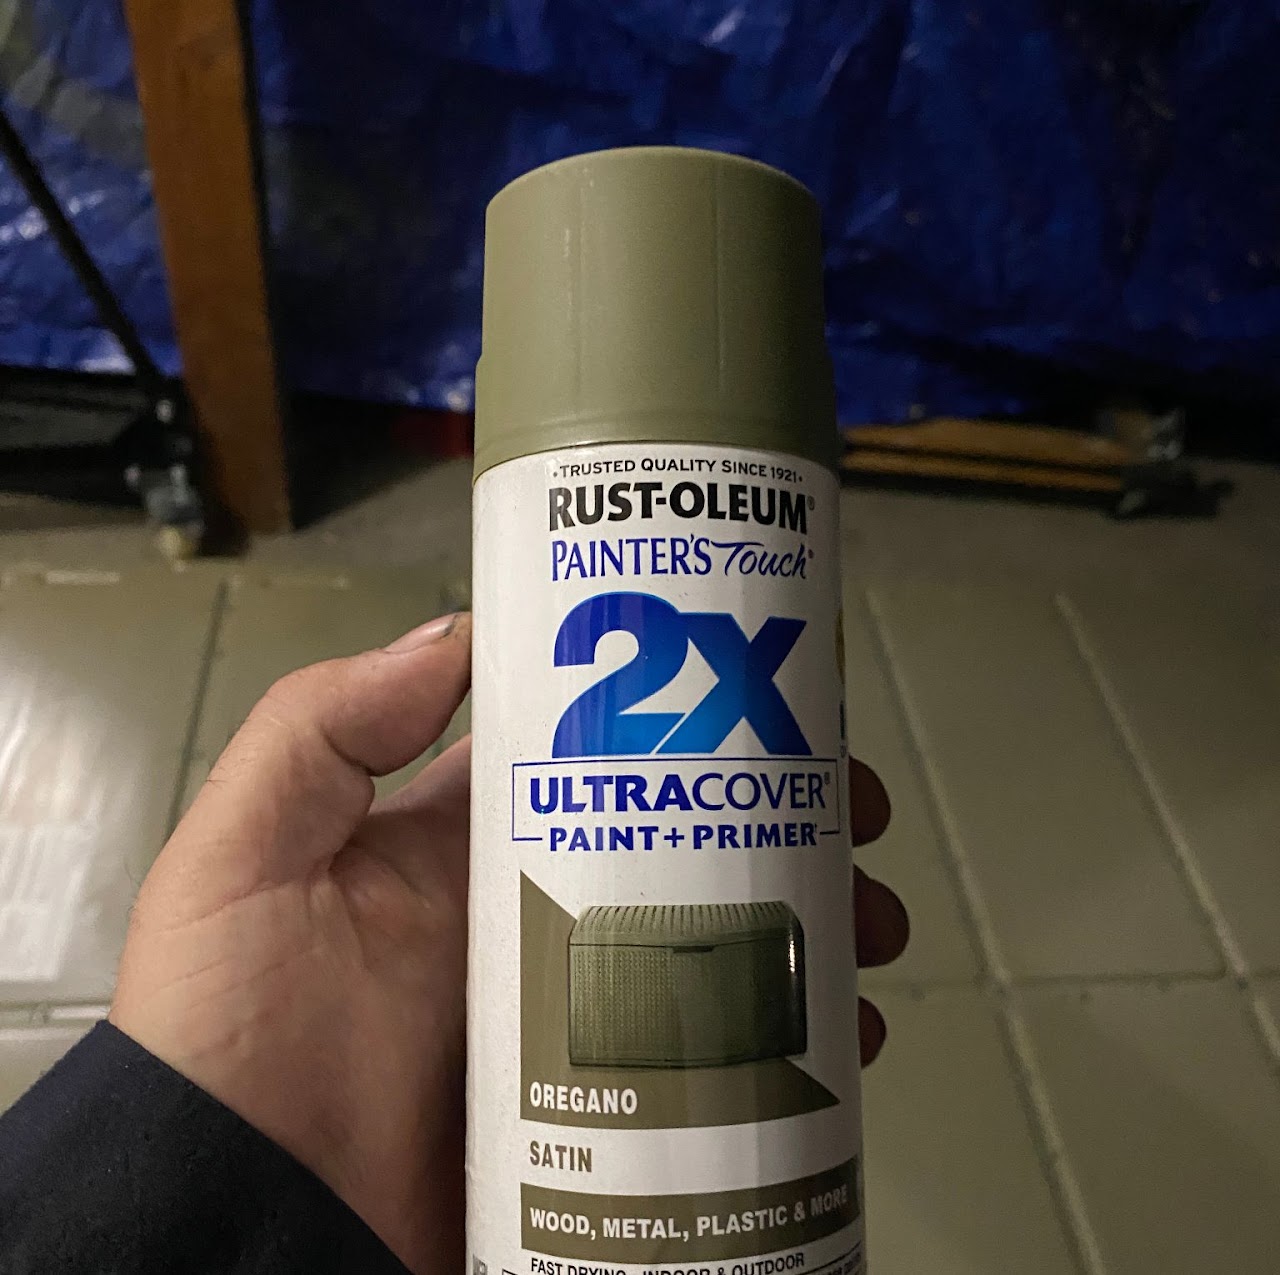
There is a Rust-Oleum color that matches pretty okay. Just make sure you don’t leave unpainted, bare metal or it will start to rust.
If you take the finished surface off the metal brackets, you need to paint them also.
Fasteners and their Holes
A lot of the fasteners come out with globs of old sealant on them and some of the holes have cured sealant or ‘crumbs’ from the cleaning process. Use a shop vac, compressed air various picks to make sure the holes are clean. Clean the fasteners however you think best or consider buying a fresh set from Tesla just so you don’t need to clean them. Some of the oddball lengths might need to be reused if you can’t identify them. Do this now so once the wet sealant/adhesive is laid down, you are ready to go!